Last fact-checked 22 February 2024 | Report a content error
Say goodbye to grotty, gunked-up vape tanks with our illustrated tank cleaning guide! In this beginner’s how-to, we’ll show you the simplest, safest and most satisfying way to keep your vape tank sparkling clean.
Step 1: Grab your cleaning kit
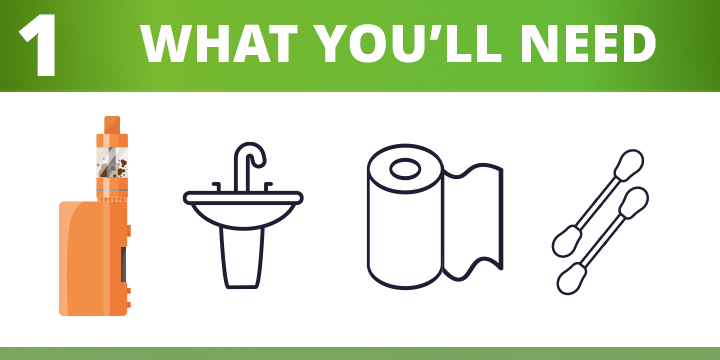
Most of the time, you’ll only need three things to clean out your vape tank. A basin of hot (or warm) water, a sheet of kitchen towel (or a microfibre cloth) and a couple of cotton swabs.
Step 2: Unscrew your vape tank
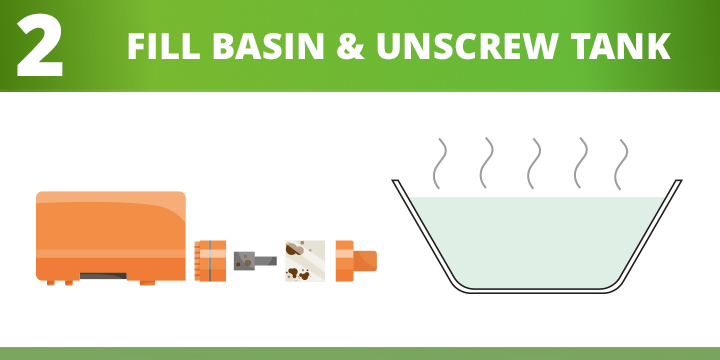
First, unscrew the vape tank from the battery pack and put it safely out of reach of your hot water basin. The battery pack should never ever get wet.
Next, unscrew your vape tank into its various components. Do this job slowly and carefully, taking photos as you go. That way, you’ll know exactly how to screw everything back together later on. If a tank won’t unscrew easily, check the instructions to make sure it’s actually meant to come apart in the way you’re expecting.
Step 3: Soak for at least 20 minutes
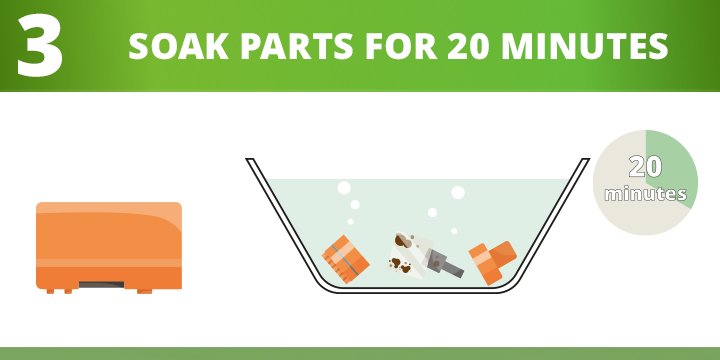
Take the tank parts (not the battery, coil or wick), and submerge them in your basin of hot water for at least 20 minutes. This should be enough time for any dirt and grime to dissolve or come loose.
If after 20 minutes some of the dirt still hasn’t shifted, transfer each tank part into a fresh basin of hot water and give it another 20 minutes. Don’t use harsh cleaning products or abrasive sponges. The wrong kind of cleaning solution could damage your tank components and weaken seals. Worse still, traces of detergent could create toxic fumes when you screw everything back together and fire up your vape.
Step 4: Let everything dry
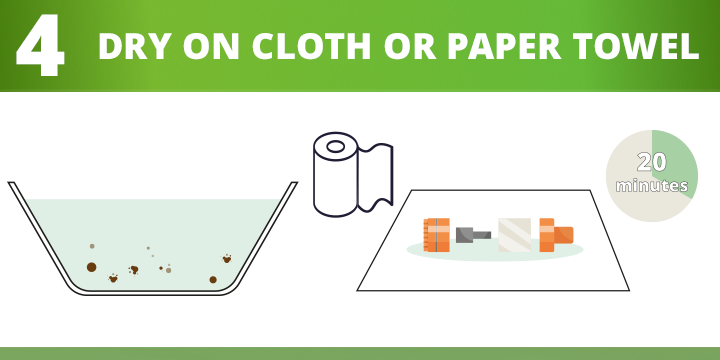
Once the dirt has washed off your vape tank, put the parts on a piece of clean, dry kitchen towel to drip-dry. A microfibre cloth will work, too. You want to let everything really dry out properly, so leave your tank parts on the paper towel for another 20 minutes or so.
Step 5: Screw it all back together
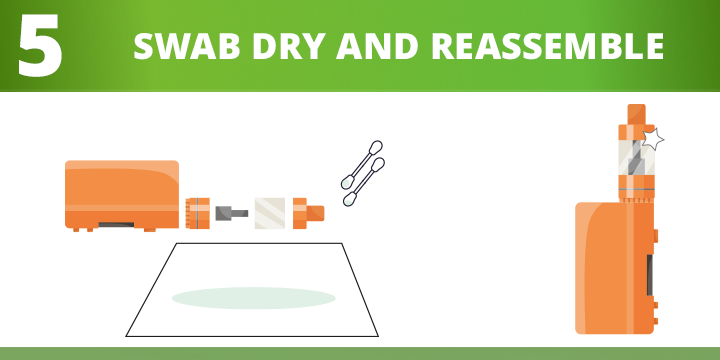
Before you screw all the parts back together, you need to check that every last drop of water has been dealt with. Use a cotton swab to soak up any last traces of moisture that might be clinging to screw threads or tank corners.
Screw everything back together, reconnect the tank and battery and you’re good to go!
That’s it! Keeping your vape tank clean really is that simple. It costs next to nothing (just a little time and hot water), and it has a massive impact on your overall vaping experience. Just don’t let any water anywhere near your battery, and remember these three final tips:
Final tank cleaning tips
- This advice relates to cleaning your tank. Don’t try cleaning your coil or wick. Coils get a bit sticky and crusty over time — it’s just a fact of life. There’s no point trying to make a coil last a few days longer by cleaning it. It’s much safer, and the flavour will be much better, if you just install a clean wick & coil once the tank has been cleaned out.
- Clean your tank regularly. The more often you clean your tank, the easier the job will be. Make it part of your weekly routine to clean your vape’s e-liquid reservoir.
- Last but not least, know when to surrender. If your vape tank has a crust that just won’t shift, don’t force it. Consider buying some replacement glass or — if the problem is really severe — just buying a fresh tank.
We hope this illustrated guide explains just how simple and easy it is to clean your vape tank. Take your time and enjoy the process — it’s incredibly satisfying and keeps your e-liquid flavours much brighter.
Stay safe and happy vaping!
John Boughey

